
From Sketch to 3D: How the Design Visualization Process Works
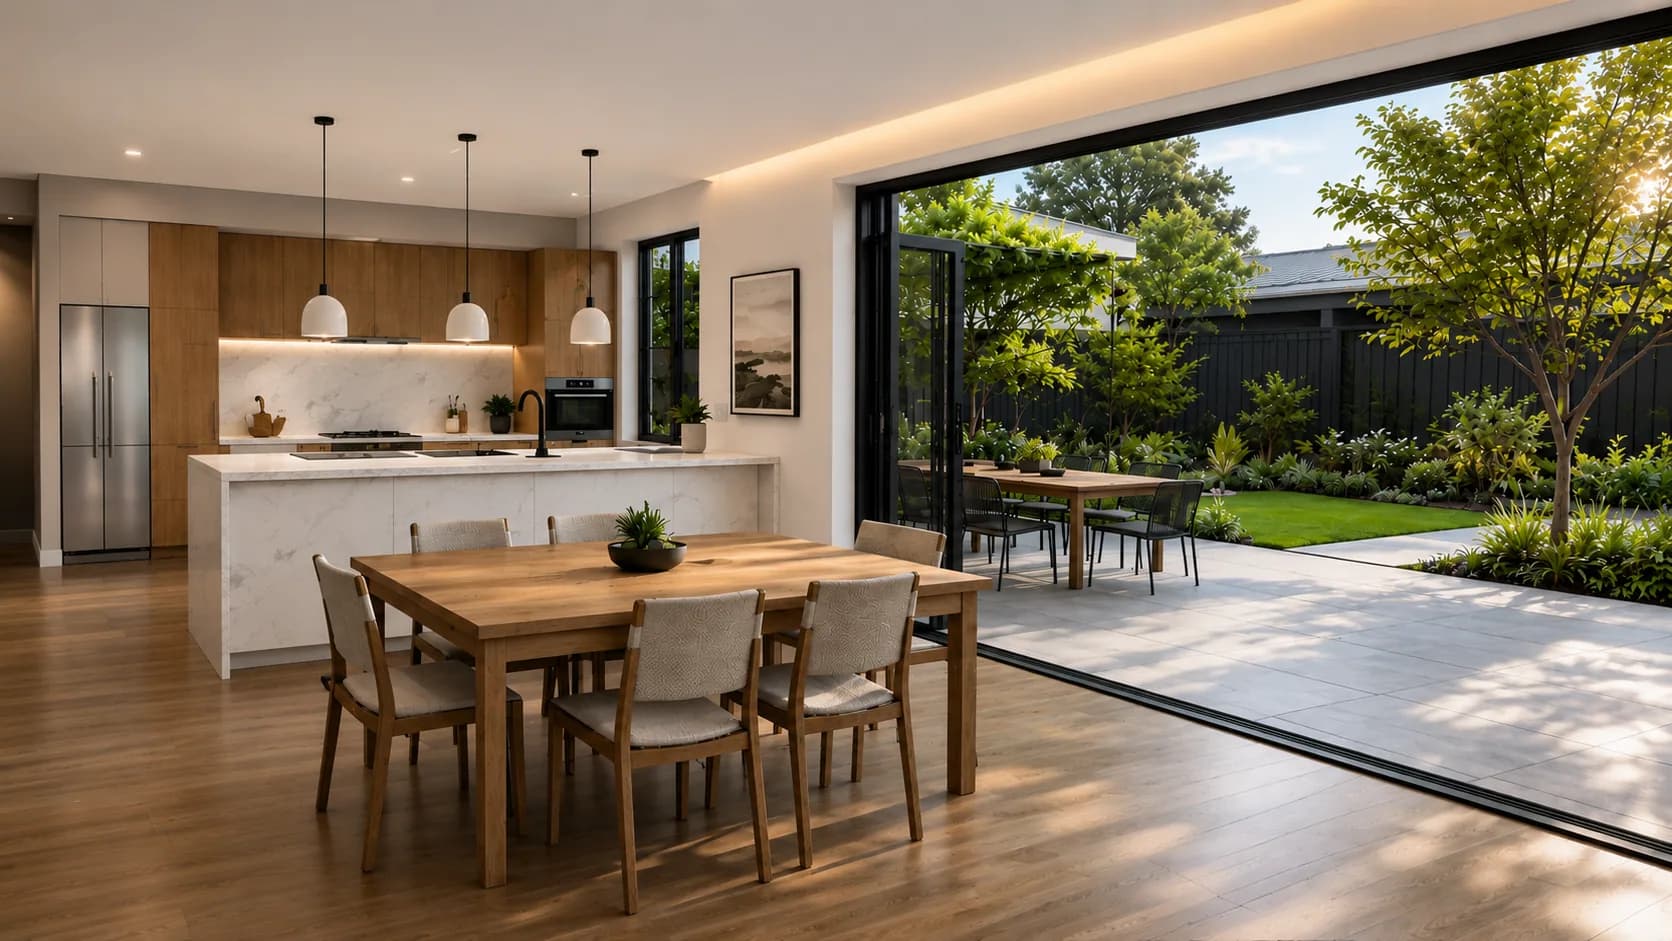
Table of Contents
Planning a home comes with one problem almost everyone shares. Designer, architect, builder, or the family who will actually live there, you are all stuck trying to picture something that does not exist yet. The design visualization process is what fixes that. It takes early ideas and turns them into realistic pictures and 3D views you can look at, long before anyone breaks ground.
There is a lot riding on getting it right. Investment in residential building construction across Canada rose $12.5 billion to $178.0 billion in 2025, according to Statistics Canada. Every one of those projects started as a drawing somebody had to interpret.
This guide walks through how a home goes from a rough sketch to a finished 3D render, why that is worth doing, and what it costs you in time and money. You need no background in 3D visualization to follow it.
What does design visualization actually mean?
Design visualization is the process of turning flat drawings into realistic 3D pictures on a computer, so everyone involved can agree on a design before it is built. It covers layout, finishes, lighting and how the home sits on its lot.
Every home design starts with sketches and drawings. The trouble is that not everyone can read them. A floor plan an architect finds obvious can look like a puzzle to the people who will live in the house.
Done well, a visualization shows you four things at once:
- The real layout, and how much room each space actually gives you
- The finishes and colours you are weighing up, side by side
- The way daylight and lamps fill each room across the day
- How the outside of your home meets its lot
If you want the longer definition and where the term sits alongside rendering and modelling, we covered that in what 3D architectural rendering is.
How were homes designed before 3D visualization?
Before 3D, a home project lived almost entirely on paper. Your designer handed over floor plans and elevations, and the rest was left to your imagination, built from lines and numbers alone. It worked, more or less, and it caused a lot of expensive confusion.
You would sign off on a plan, then get a surprise when the finished room turned out smaller, or darker, or plainer than the version in your head. The same four problems came up again and again:
- Drawings were hard to read, so the space was easy to misjudge
- Changes surfaced during building, when they cost the most to fix
- The finished home did not always match what you had expected
- Approvals dragged, because everyone was picturing something slightly different
That last one is the quiet killer. A committee cannot approve what it cannot agree it is looking at.
How does the sketch to 3D process work today?
The process runs in seven clear steps: brief, sketch, 3D model, materials and finishes, lighting, rendering, then post production. Each step is signed off before the next begins, so changes stay cheap and nothing is built on a misunderstanding.
The easiest way to show it is to follow one example the whole way through. So picture this: you want to open up a closed-off kitchen and connect it to the backyard where you spend every summer.
- Write the brief and agree the goals
- Work the idea into a sketch
- Build the 3D model
- Apply materials and finishes
- Set the lighting
- Render the final images
- Polish in post production
It starts with the brief
Every project begins with a conversation. Goals, lifestyle, style preferences, budget and requirements get written down before anything is designed. That brief is the basis for every decision that follows.
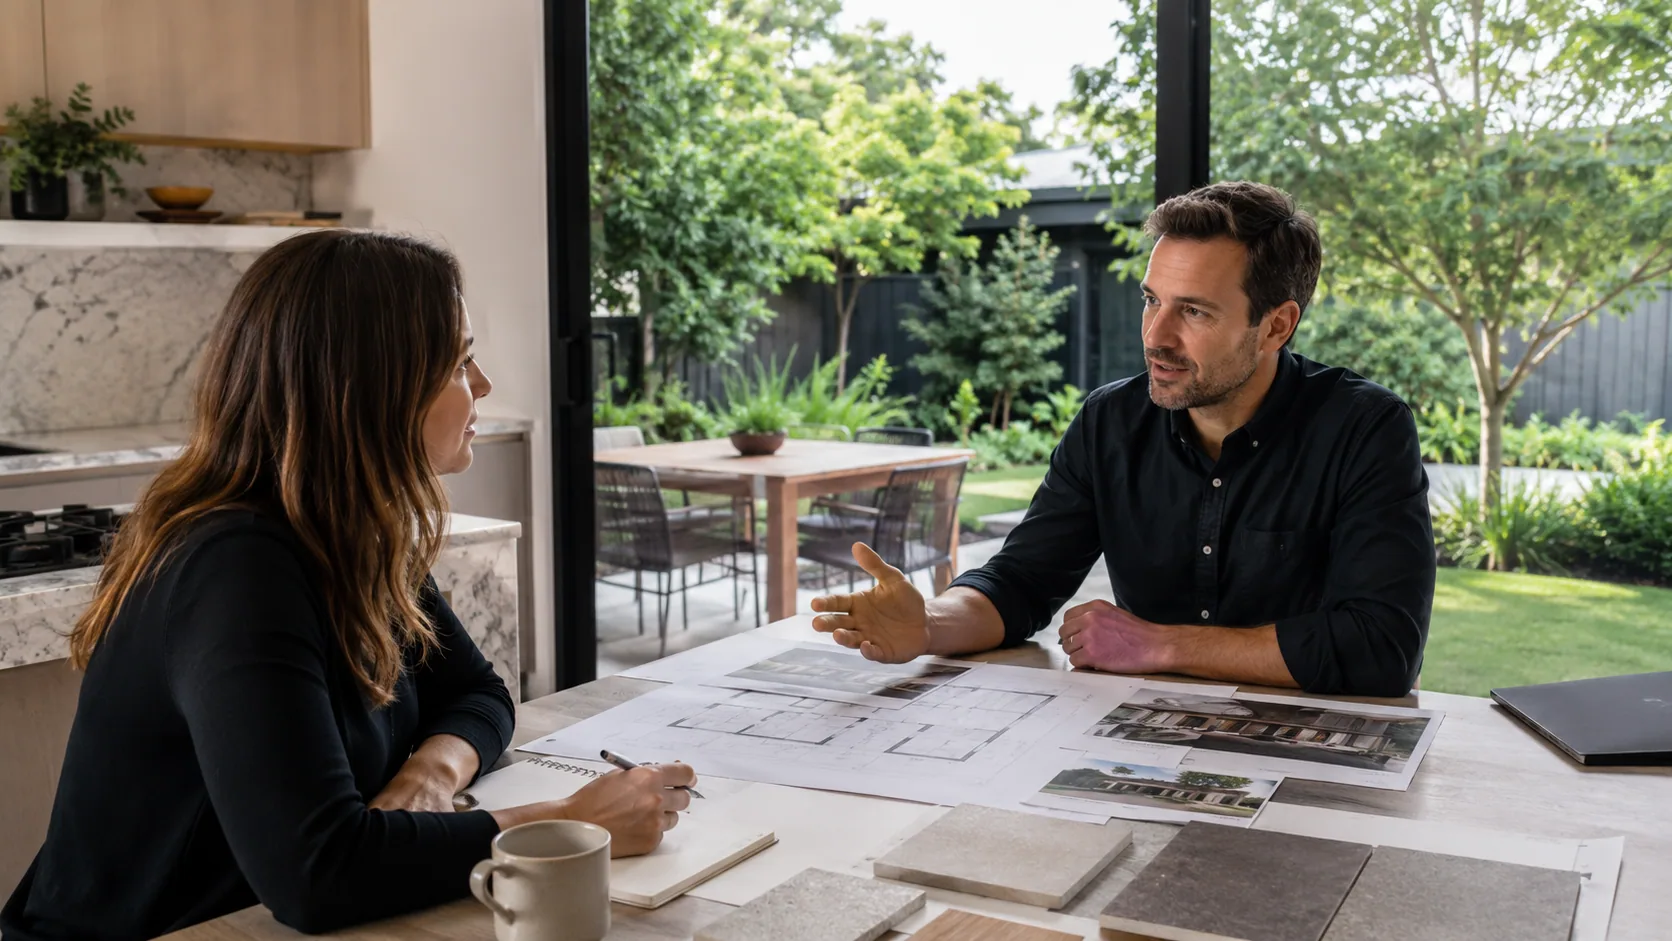
Whether you want an open plan kitchen, more natural light, or the house tied into the backyard, the priorities are set here and the design stays pointed at them.
From idea to sketch
The first idea gets worked out as a simple sketch. It covers the layout, the room shapes and the flow between them, and deliberately skips detail.
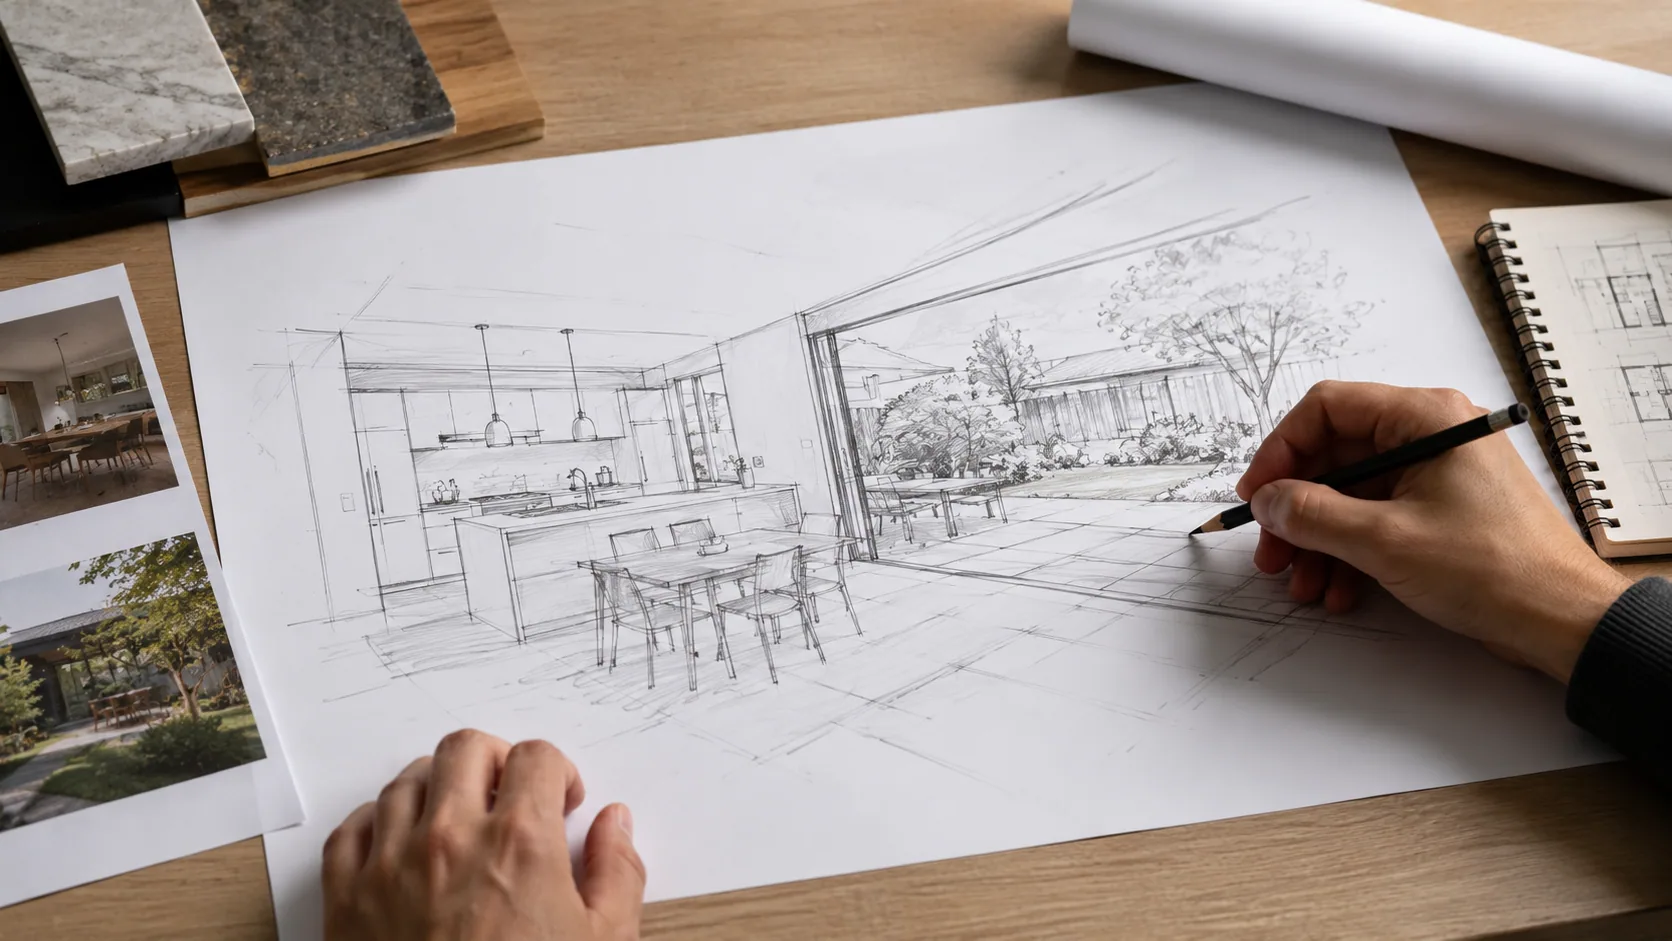
This is the cheapest moment in the whole project to change your mind. Use it. Trying three layouts here costs an afternoon; trying them after framing costs a great deal more.
Building the 3D model
Once the sketch is approved it becomes a detailed 3D model. Walls, windows, doors, ceilings and architectural features are built to proper proportions, which gives you a true digital version of the space.
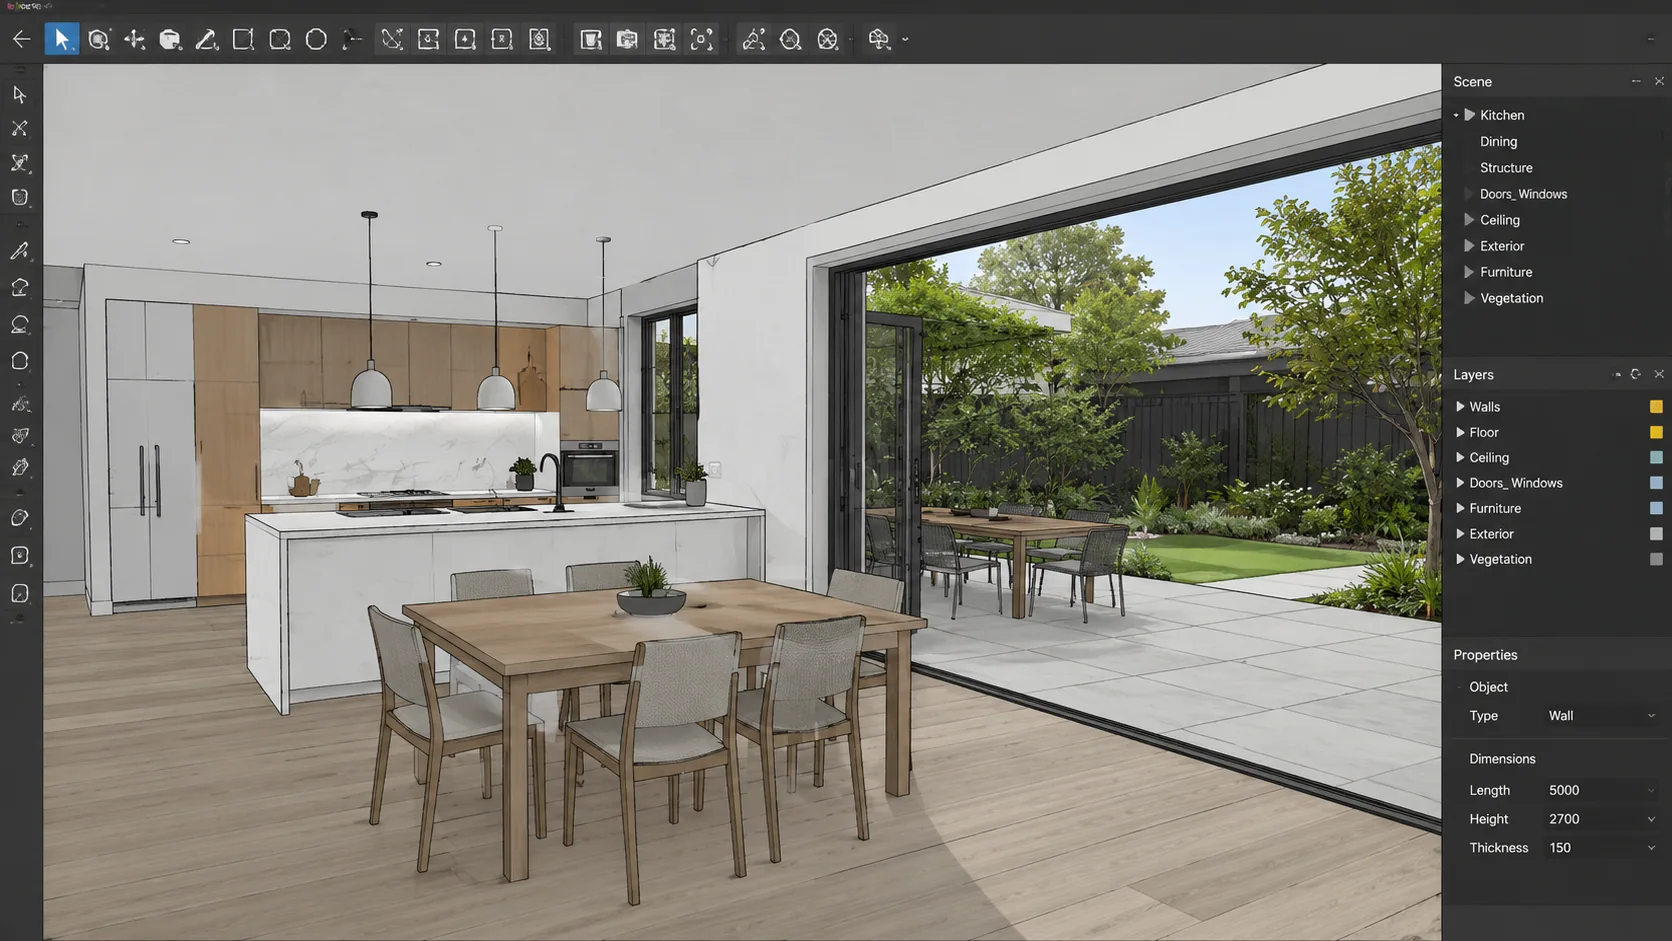
Now you can see how rooms connect, how much space you really have, and whether the layout works. If you already have BIM or Revit files, this step starts from those rather than from scratch, and BIM visualization covers what that model does for coordination once several teams are working in it.
Adding materials and finishes
With the structure done, materials go on. Cabinets, flooring, countertops, wall finishes and other surfaces are applied so you get a true sense of the final design.
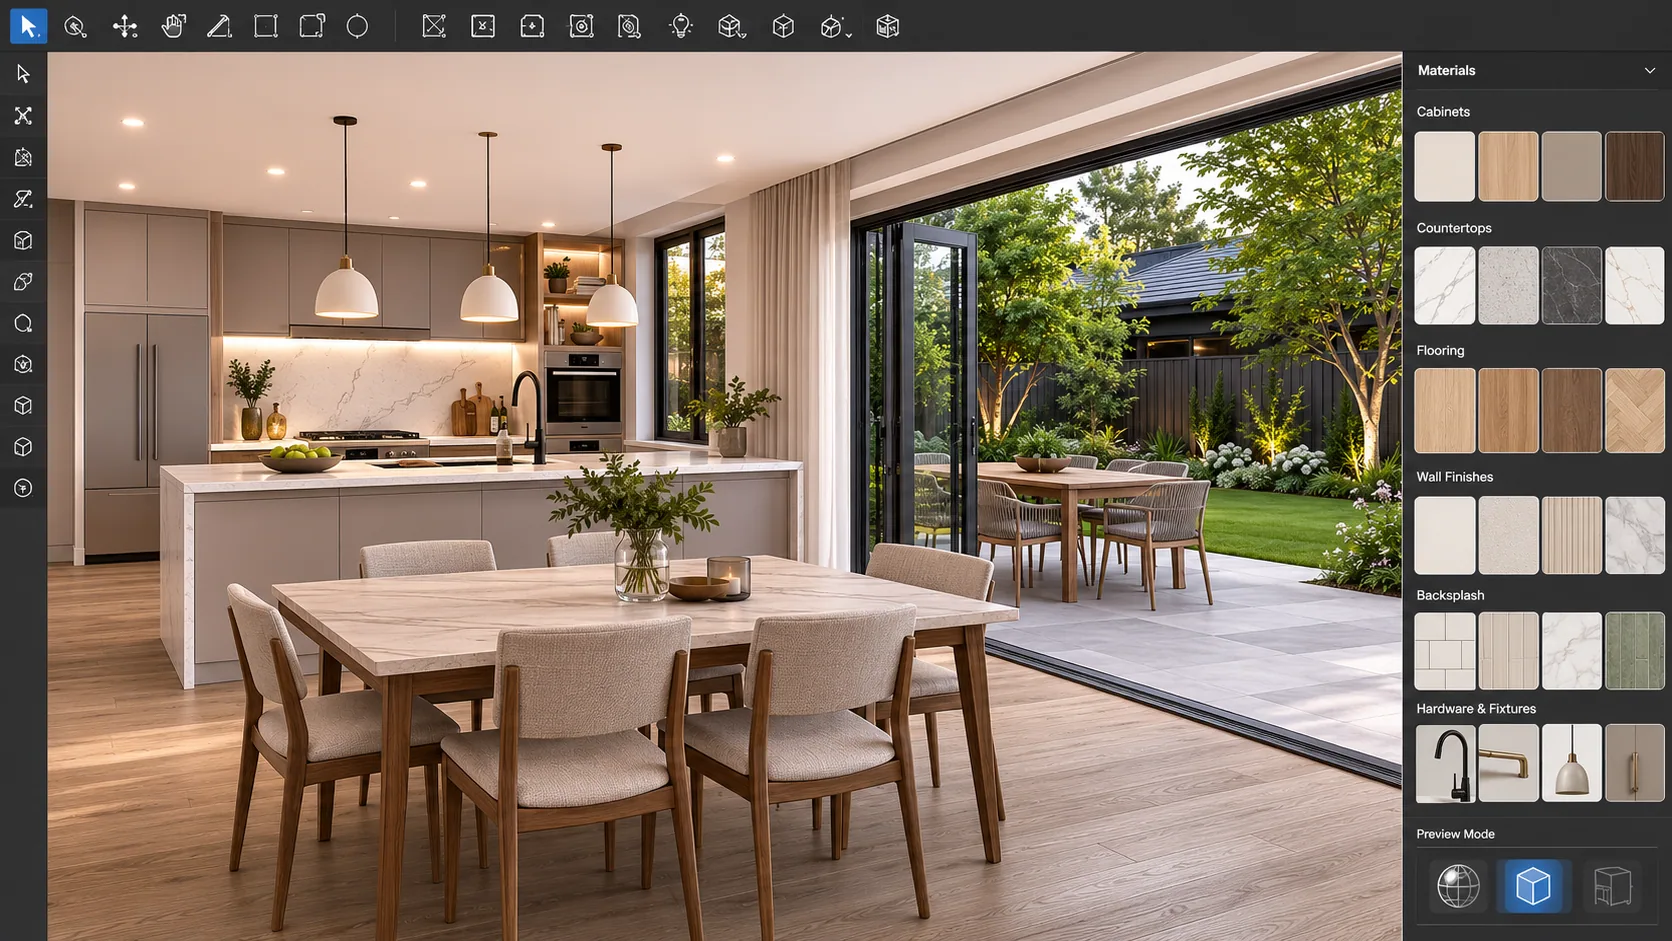
This is where side-by-side comparison earns its keep. Two countertop options in the same room, same light, same angle, settles an argument that email cannot. It is the core of what kitchen rendering is for, and we went through the finish decisions themselves in how renders visualize finishes and materials.
Setting the lighting
Lighting is added to simulate the space through the day. Natural daylight and artificial fixtures are adjusted to reflect realistic conditions rather than a flattering one-off.
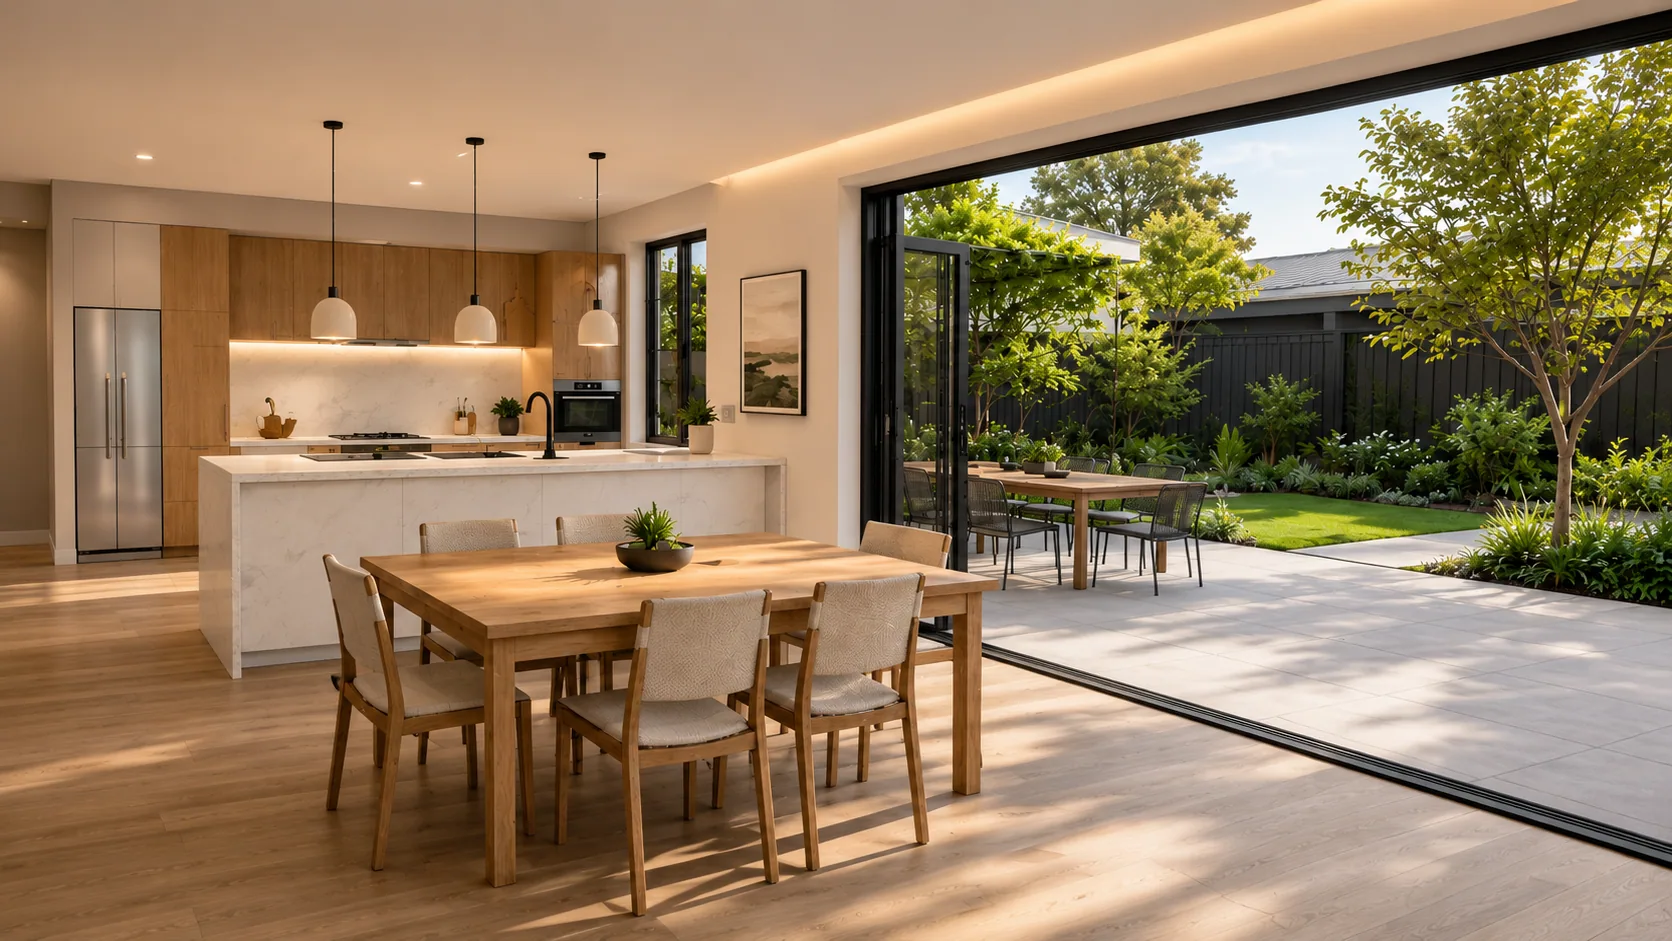
Lighting is the step people underestimate most. A room that looks generous at noon can feel like a cave at four in the afternoon in January, and this is where you find that out. Window placement also drives real energy performance, which Natural Resources Canada covers in detail for homeowners.
Rendering the final images
Rendering is the step that produces the finished picture. The model is turned into high quality, photoreal images, and an interactive walkthrough if the project calls for one.
These visuals let you check every detail before construction, hand builders something unambiguous, and make final changes while they are still easy and cheap. Where a still is not enough, 3D walkthrough animation takes over.
Polishing in post production
Post production is the last pass. Rendered images are edited for colour, contrast and detail so they read as photographs rather than as computer output.
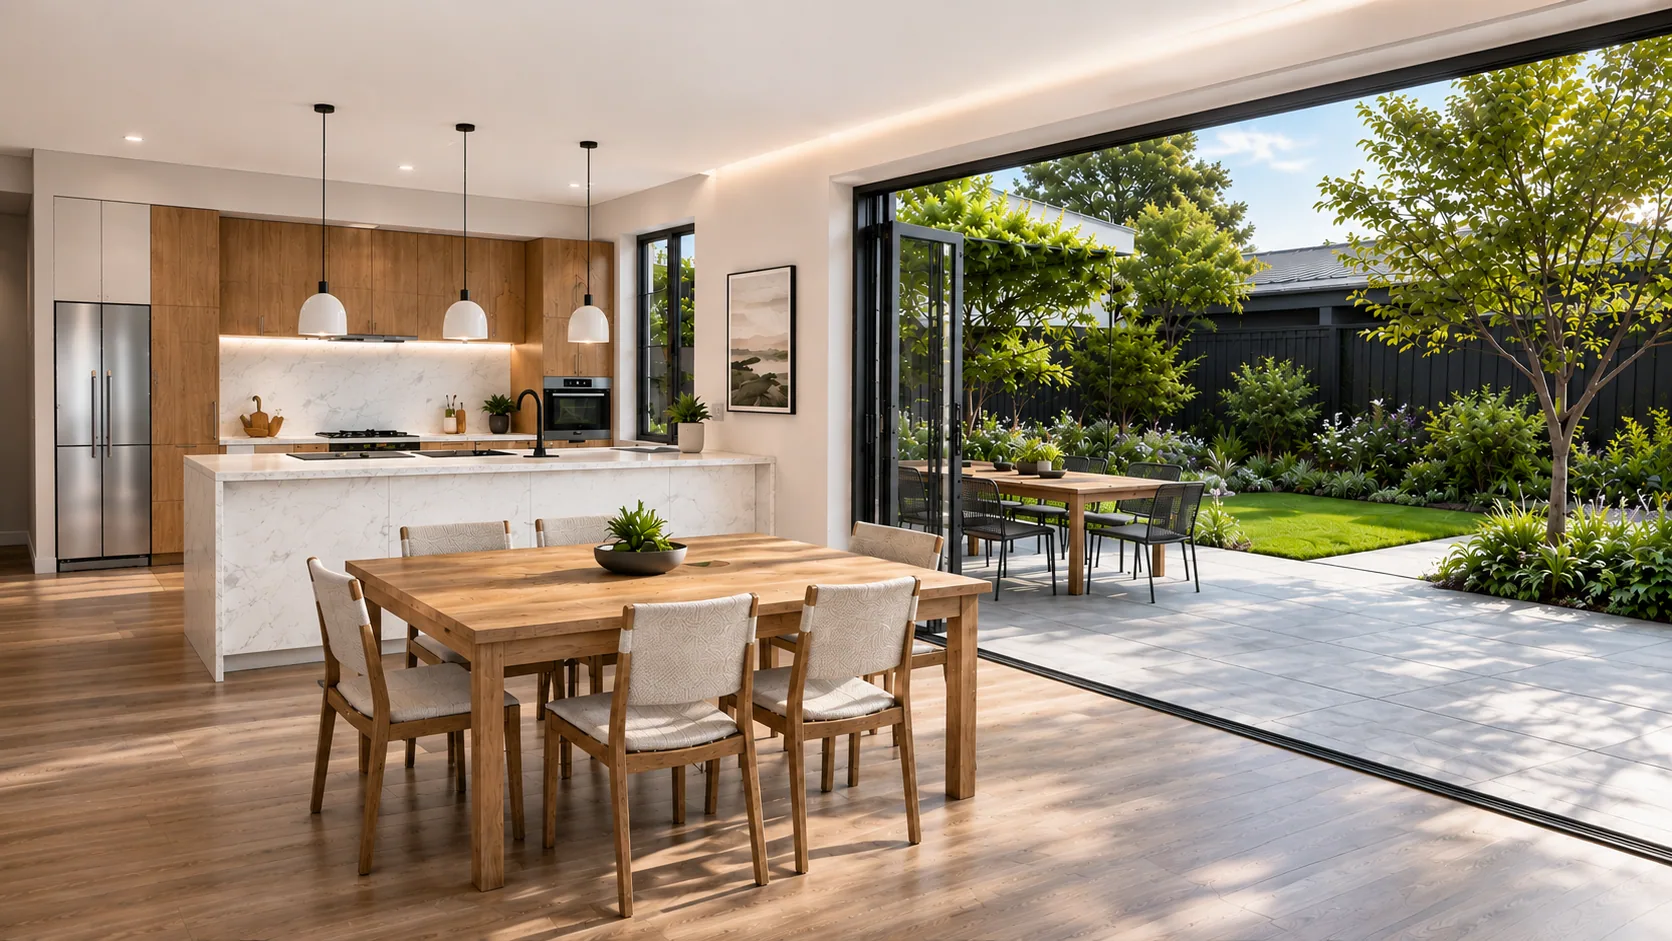
Furniture, decor, landscaping and outdoor views get integrated here to give a full picture of the finished space.
What kinds of 3D visuals can you actually get?
3D visualization is not one product. Deliverables run from single still images through interior and exterior views, walkthrough animation, aerial shots, 360 panoramas, virtual staging and floor plan visuals. Which you need depends on how you plan to use them.
| Format | Best for | What you get |
|---|---|---|
| Still images | Approvals, brochures, listings | Sharp photoreal shots from a fixed angle. The most common choice by a distance. |
| Interior views | Finish decisions, client sign-off | Layout, materials and mood, room by room. |
| Exterior views | Planning submissions, curb appeal | The facade, the landscaping, the way the home meets its lot. |
| Walkthroughs and animation | Pre-sale marketing, bold layouts | A short film that moves through the home, so you feel the space. |
| Aerial and site views | Developments, larger lots | The home from above, with access, surroundings and landscaping in frame. |
| 360 degree views | Websites, listings | Rotating panoramas a client can look around themselves. |
| Virtual staging | Empty or unbuilt rooms | Furniture and styling dropped in, so a buyer can imagine living there. |
| Floor plan visuals | Anyone who finds drawings heavy going | A clean, readable plan that gives the layout at a glance. |
Most residential projects want interiors and exteriors both. If you are weighing one against the other, our exterior vs interior rendering guide goes through the trade-offs.
What changed when 3D visualization arrived?
Visualization moved the expensive surprises off the building site and onto a screen. Approvals move faster because people can see what they are approving, builders price from one clear picture, and homes can be marketed and sold before they are finished.
Set against drawings alone, the wins are hard to miss. Costly surprises get caught on screen instead of in framing. Designers and architects pass on their idea without it getting lost in translation. And a slow back-and-forth becomes one clear conversation.
That is not a small thing on a project where a change order after framing can run into five figures.
What does this mean for your role?
Visualization helps every role in a project, but differently. Designers settle finish debates in one meeting, architects get bold moves approved, builders lock finishes before framing, and clients check the light and the layout before spending anything on construction.
- Designers can put three flooring options in the same room and settle the whole thing in one meeting instead of a dozen emails.
- Architects can let a client stand inside a double-height ceiling and feel it, so they green-light the bold move instead of fretting over it.
- Builders get finishes agreed and locked before framing, which means fewer change orders, cleaner material orders and less rework.
- Clients can walk through a future living room and check the light, the layout and the finishes before spending a dollar on construction.
From custom homes to residential developments across Canada, including projects like Almaara Residences and Elevate by Prescott up in Muskoka, Pyctom has turned early plans into visuals that help clients approve, build and sell with confidence. The full range is in our portfolio.
What should you expect on timeline, cost and changes?
Timeline and cost both track scope: the number of views, how complex the model is, the level of detail, and how many revision rounds you expect. A small set of images moves fast once your inputs are ready. Larger homes and animation take longer.
Cost runs on much the same logic. Clean drawings help your budget too, because good inputs mean less rework. Extras like animation, 360 panoramas or several design options side by side all add to the figure, and all of them are quoted before anything starts.
Changes are part of the deal and get handled in clear rounds. You review previews as work progresses and give feedback before anything is finalised. Nudging a layout, a colour or a finish on screen is quick and cheap, particularly next to making that same call after building has started.
Starting is easier than people assume. A rough sketch, a floor plan, a few measurements or photos of an existing space are all enough. Already working in CAD, Revit, SketchUp or BIM? Send those files straight over. If something is missing, we flag it early rather than guessing.
How do you start a visualization project?
Send whatever you have: a sketch, a floor plan, measurements, or photos of the existing space. The brief conversation sorts out which deliverables you need. You get a scope, a price and a timeline before any modelling begins.
Nobody should have to build a home on hope, and your clients should not have to guess their way through drawings. Get in touch and take a look at our 3D design services, so you know exactly what you are getting from the first step. If you want to see how far the immersive end goes, our guide to immersive architectural visuals is the next thing to read.
Frequently asked questions
Do I need finished drawings before Pyctom can start?
No. A rough sketch, a basic floor plan, some measurements or photos of an existing space are plenty. Much of the value is in taking early, unfinished ideas and turning them into something you can finally see.
What is the difference between a 3D model and a render?
The model is the built shape of the space, the walls and structure you can look around inside. The render is the finished, realistic picture made from that model, with materials, colours and lighting added.
Can I make changes after seeing the first 3D views?
Yes, and it is one of the biggest advantages. Changing a layout, a colour or a finish in a 3D view is fast and cheap, especially compared with making the same change once building is underway.
Will the 3D look like the real finished home?
Done well, yes. Realistic materials, accurate lighting and a careful post production pass keep the final images close to the finished home, which is why they work for approvals and for selling early.
Is design visualization only for large or luxury homes?
Not at all. It suits a single-room renovation, a basement suite or a small addition just as well as a large custom build. Any project where you would rather see the result before committing benefits.
How long does a 3D rendering project take?
It depends on scope, the number of views and how complex the model is. A small set moves quickly once your inputs are complete. Larger developments, multiple interiors or animation take more time. You always have a timeline before work starts.
What affects the cost of a render?
Model complexity, the number of views, the level of detail, how many revision rounds you need, and whether you want animation, 360s or multiple design options. Clean, complete drawings keep costs down by cutting rework.
What formats will I receive, and can I use them for marketing?
You get high-resolution files ready for websites, brochures, pitch decks, listings and social, and the same set works across all of them. Which formats you need gets decided in the brief.
Disclaimer: The information provided in this blog is for general informational purposes only. For professional assistance and advice, please contact experts.