
How 3D Kitchen & Interior Renders Visualize Finishes & Materials
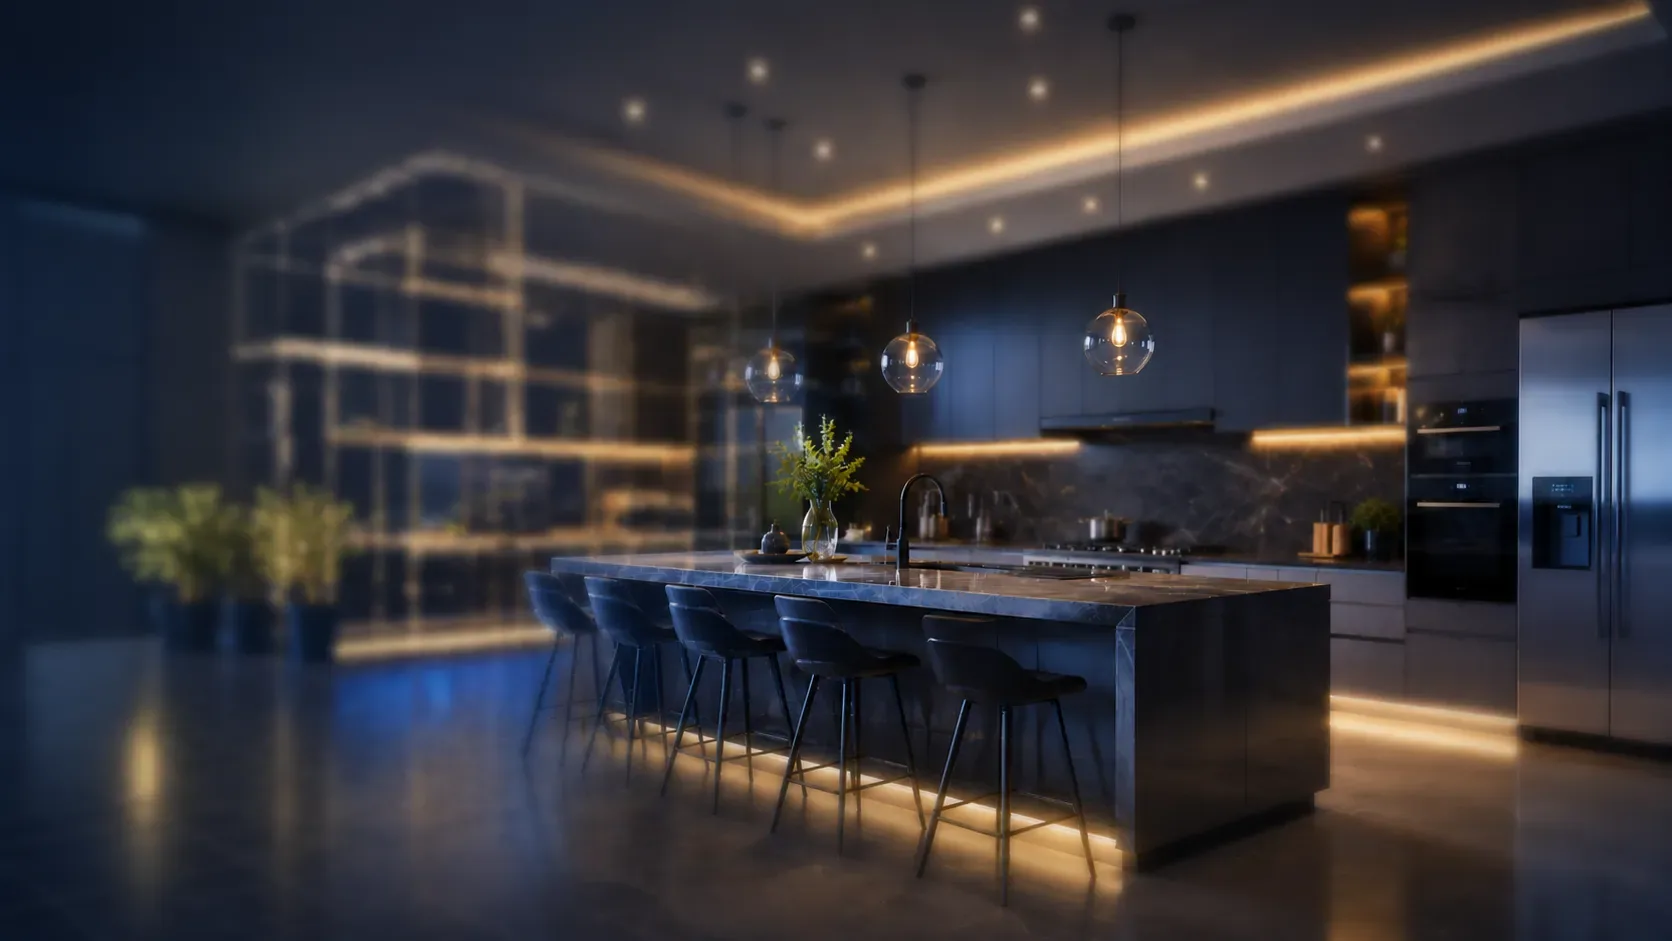
Table of Contents
A floor plan and a fan of material samples show you the layout. They do not show you how the finishes will resolve in real light. 3D kitchen rendering solves that, and most people treat it as a marketing image when its real job is to de-risk finish and material decisions before a single cabinet is ordered.
The money at stake is not theoretical. In the 2026 Houzz & Home Study, 37 percent of homeowners went over budget on their 2025 renovations. Among those who did, 35 percent chose products or materials more expensive than planned and 31 percent expanded scope mid-project. Finish decisions are where a kitchen budget goes.
This guide covers what a render reveals about finishes and material pairings, and how it lets you test those decisions before construction starts.
What does a 3D kitchen render actually show you?
A render answers the three questions samples and 2D plans cannot: how your materials look together, how each finish reads under the light the room actually gets, and how a pattern behaves at full scale rather than on a four-inch offcut.
How your materials work together
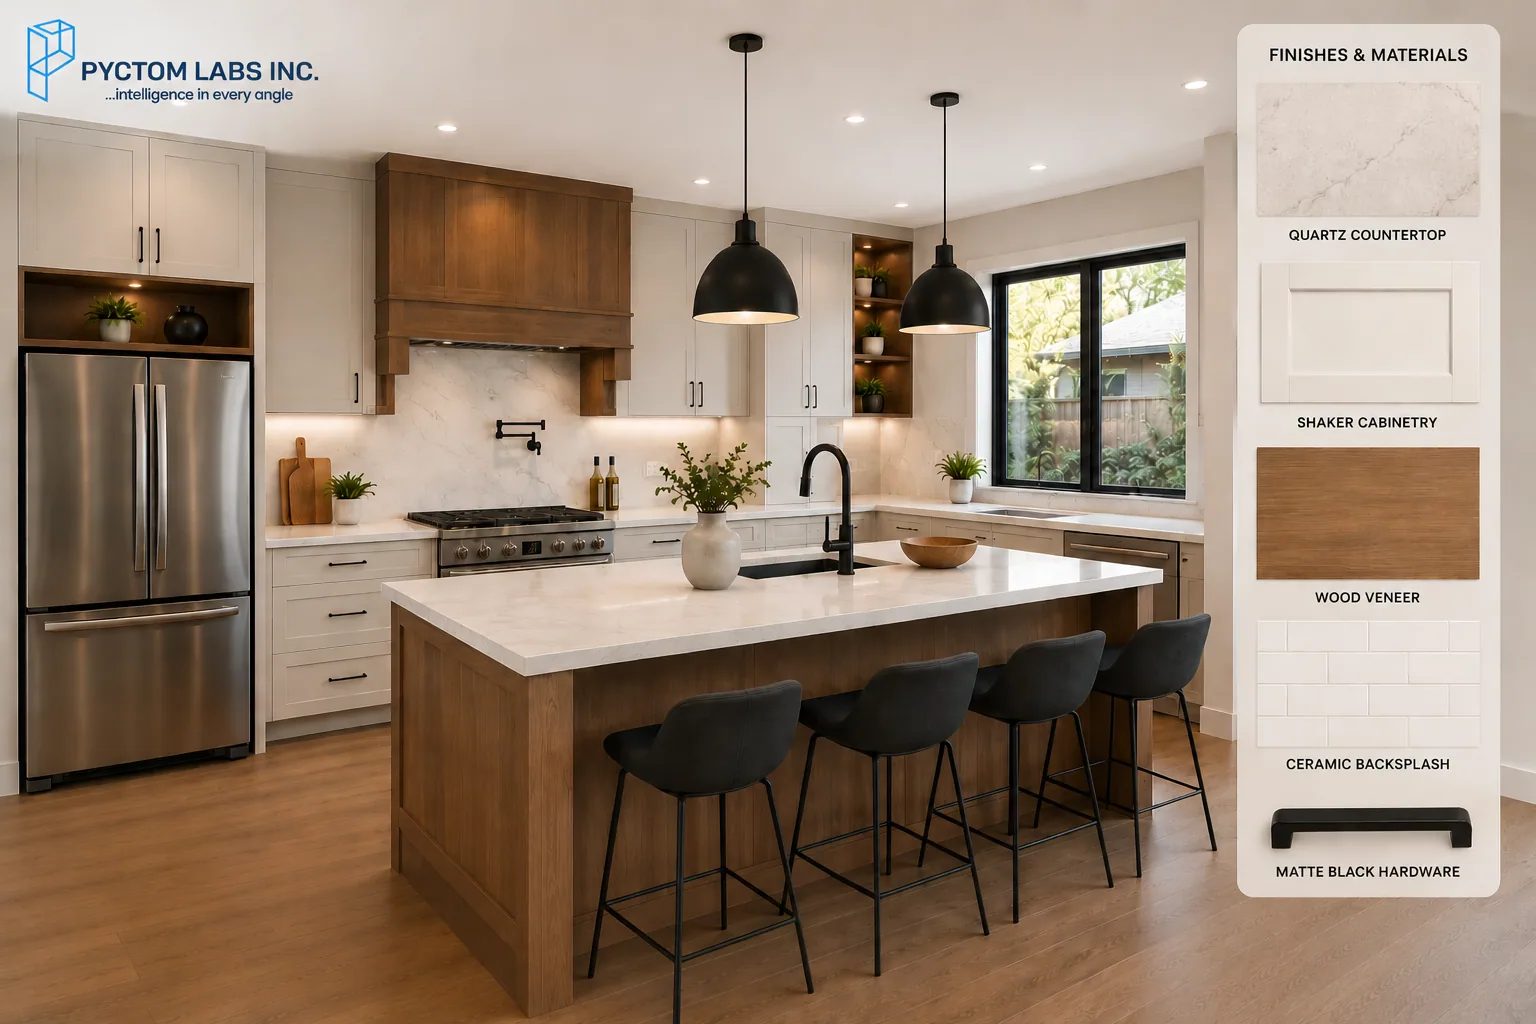
Countertops and finishes never exist in isolation. A stone that looks calm on its own can compete with a busy backsplash, and a two-tone cabinet scheme that impresses in a showroom can look muddled beside your client's existing floor. A cabinetry render puts every finish in its true context, so you assess the palette as a whole rather than one sample at a time.
How finishes appear under real light
The same quartz reads cool and grey under a north-facing window, then warm and cream under evening LEDs. Canada makes this sharper. Winters are long, the sun sits low, and kitchens spend many hours under artificial light, so a finish judged on a bright July afternoon is being judged in conditions the room will rarely be in.
Give your render artist the colour temperature of the fixtures you are specifying, not just "warm" or "cool". A finish approved under neutral daylight can look like a different product under the 2700K LEDs most Canadian kitchens run in the evening. Ask for the scene to be lit at the time of day and the season the room is used most, so your client signs off on the finish as they will genuinely experience it.
How a finish reads at full scale
A four-inch sample reveals very little. It cannot show how a bold vein spreads across a twelve-foot island, or how a wood grain repeats down a full run of cabinetry. Interior rendering presents the finish at the scale your client will actually live with.
When is a kitchen render worth it, and when is it not?
The value scales with how much your finishes interact. A one-colour spec kitchen with familiar materials barely needs a render. A custom kitchen with six premium, non-returnable finishes almost always justifies one, because that is where samples fail.
- A project where rendering adds little. A spec galley kitchen: one cabinet colour, a laminate counter, standard tile. Every finish is familiar and nothing interacts unexpectedly. Here a render functions as a listing photograph and contributes little to the decision itself.
- A project where rendering is essential. A custom kitchen: walnut island, painted uppers, a book-matched stone counter, brass hardware, a statement backsplash. Six finishes interact at once and most are premium and non-returnable. This is where a kitchen design render earns its cost, letting your client confirm the palette holds together before twenty thousand dollars of cabinetry goes to fabrication.
- A project where skipping it proves costly. You omit the render to save a week and your client approves from samples. Once installed, the island stone reads far busier than the offcut suggested, and the contrast that looked crisp in the studio falls flat under warm lighting. The result is a change order. Custom cabinets cannot be returned, and months of trust are undermined in a single walkthrough.
The pattern is consistent. The more your finishes interact, and the further they sit from what your client already knows, the stronger the case.
Why do material samples mislead you?
Samples fail on three counts: scale, light and adjacency. A chip cannot show a pattern repeating across a full surface, cannot be judged under your client's actual fixtures, and is chosen on a table rather than against the surfaces it will sit beside.
- Scale. A sample cannot show how a pattern repeats across a full surface.
- Light. Even cost guides caution that a finish looks different under your actual lighting. A render tests it under those exact conditions.
- Adjacency. Finishes are selected individually on a table, then installed together on a wall, which is where the surprises emerge.
Before you approve a scheme from samples alone, run through this list. Does the design combine more than two cabinet or counter finishes? Is any material patterned, veined or directional? Will the room depend on artificial or low natural light? Are any finishes custom, imported or non-returnable? Is your client picturing a look they have never lived with?
If more than two apply, the project warrants a render.
What does a render let you do before construction?
Three things samples cannot: present alternatives side by side so a client chooses from accurate images, revise on screen at the price of a revision rather than a change order, and secure an approval that is a record both parties can point back to.
- Compare options side by side. Dark cabinets or light, one counter or another, brass hardware or matte black. Present the alternatives together and let your client choose from accurate images rather than imagination. Keep the set small, two or three options rather than six, because decision paralysis is real and it stalls projects.
- Revise as often as the design needs. Moving the island, changing the backsplash, testing a two-tone scheme and reversing it all happen on screen. Every question resolves before a cabinet is ordered or a slab is cut.
- Secure approvals you can rely on. Treat the approved render as a signed record rather than a preview. Have your client approve it in writing before you order materials. That image becomes your reference if a question arises later, and it protects your margin against the "this isn't what I pictured" conversation after installation.
How do 3D renders support Canadian approvals?
A render is not a permit drawing and will not shorten a municipal review. What it does is settle the design first, so your permit set is complete and accurate on the first submission, and it carries the approvals that come before municipal review.
Cosmetic work is generally straightforward. Replacing cabinets in the same location, installing a new countertop, painting or adding a backsplash typically needs no permit. Altering structures or systems is another matter: removing a wall for an open-concept layout, relocating a sink or dishwasher, or adding circuits for a new range requires a building permit plus separate plumbing and electrical permits. Once services start moving, coordination becomes its own problem, which is what BIM visualization is for.
Electrical work must be signed off by your province's electrical safety authority, which in Ontario is the Electrical Safety Authority. Codes vary as well. Ontario follows the Ontario Building Code, British Columbia maintains its own, and contractors in Quebec work under the RBQ. Removing a load-bearing wall almost always requires an engineer and a permit, which extends the timeline.
Approval timelines
| Project scope | Review timeline |
|---|---|
| Cosmetic work | No wait |
| Structural review | 4 to 6 weeks |
| Heritage review or minor variance | 8 to 12 weeks |
Incomplete applications are the most common cause of permit delays, so finalising finishes and layout in a render keeps your permit set from being returned for revision. A render also carries the approvals that precede municipal review. Homeowners often struggle to interpret 2D blueprints, and a render locks in their sign-off before technical drawings are finalised. Condo and strata boards care about shared elements such as plumbing stacks, firewalls and acoustic barriers, and a 3D visual shows a volunteer board how your design respects those boundaries. Heritage districts and design-review panels want to know how a change reads in local context, which a render answers directly.
Which render suits which project stage?
Concept stage wants speed, selection stage wants accuracy, sign-off wants realism. Matching the render to the stage keeps you from paying for photoreal polish while you are still deciding whether the island moves.
At concept, prioritise speed. Fast kitchen visualization lets you test layouts and broad directions, light against dark or open against closed, without unnecessary polish.
At selection, prioritise accuracy. This is the render that locks your materials, so insist on physically accurate surfaces tied to the actual products you are specifying. A render is only as reliable as the materials behind it, and a polished image built on generic stand-ins can still mislead.
At sign-off, prioritise realism. A high-fidelity render secures approval and becomes marketing material once the project ships. Because Canadian homes so often favour open-concept layouts, show the full sightline so your client sees how the kitchen palette carries into the adjoining living and dining spaces. Where a still cannot carry that, a walkthrough animation can.
See your finishes before you build
Pyctom creates photoreal 3D kitchen and interior renders for Canadian builders, architects and designers. We build visualizations from your specified finishes and light them to match the conditions of the homes your clients will live in, so you can compare options, revise without risk, and take approval-ready images to clients, condo boards and heritage panels.
Recent work is in the portfolio, the wider range is on the services page, and if you want to see your finishes before committing to them, get in touch. If you are earlier in the process than finish selection, our guide to the design visualization process covers the steps that come first, and exterior vs interior rendering covers choosing between the two.
Frequently asked questions
What is 3D kitchen rendering, and how does it differ from a floor plan?
A 3D kitchen render is a photorealistic image showing how cabinetry, countertops and finishes look together under realistic lighting. A floor plan shows layout and dimensions. A render shows appearance, so you can judge how materials interact and how a finish reads at full scale.
How much does a 3D kitchen render cost in Canada?
Pricing depends on project size, the number of views and the detail you need, so ask for a custom quote. The return matters more than the fee. Changing your mind mid-construction is expensive, and catching one material mistake on screen instead of on site typically covers the cost of the render.
Can a 3D kitchen render be used to get a building permit?
No. A permit application needs technical floor plans, elevations and a site plan, and a render replaces none of them. What it does is settle the design in advance so those drawings are complete and accurate on the first submission, and it supports condo board, strata and heritage sign-off.
How many revisions can I make to a kitchen render?
Every change happens on screen at the cost of a revision rather than a change order. You can move the island, swap the backsplash, test a two-tone scheme and reverse it, all before material is ordered. Confirm the revision policy with your provider before work starts.
When is a 3D render worth it, and when can I skip it?
Value scales with complexity. A single-finish spec kitchen with familiar materials rarely needs one. A custom kitchen combining multiple cabinet and counter finishes almost always justifies it, particularly with patterned or veined materials, low natural light, or non-returnable custom pieces.
Will the finished kitchen match the render?
It should, provided the render was built from your actual specified products rather than generic stand-ins and lit for the conditions of the real room. That is why the selection-stage render matters most, and why an approved render works as a reference if a question comes up later.
Disclaimer: The information provided in this blog is for general informational purposes only. Permit requirements and review timelines vary by municipality. For professional assistance and advice, please contact experts.