
Exterior vs Interior Rendering: A Complete 3D Guide for 2026
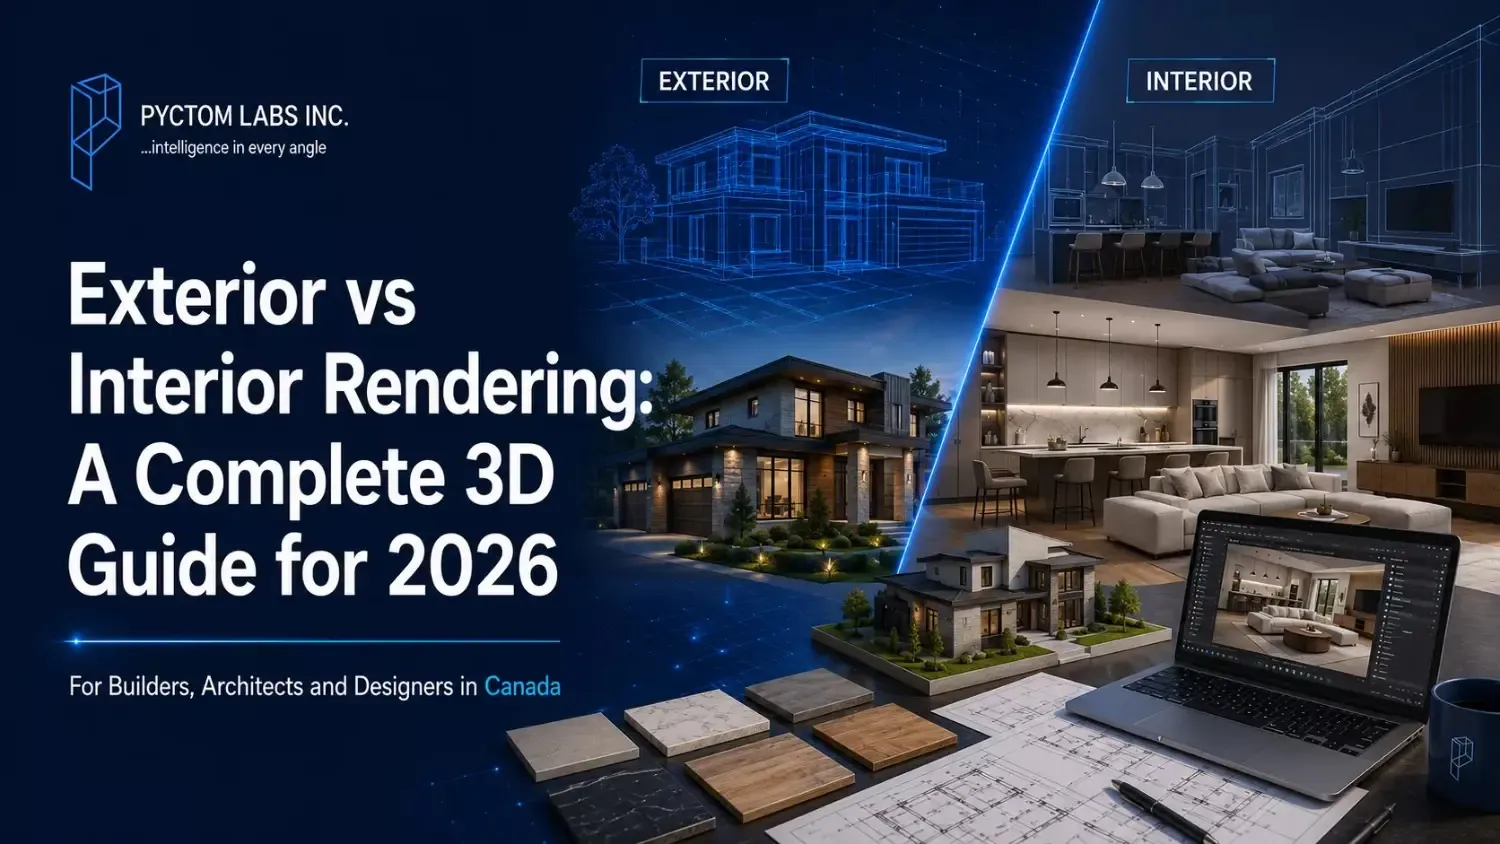
Table of Contents
Struggling to help clients visualize a design before construction begins? Misunderstandings, repeated revisions, and delayed approvals often happen when ideas exist only on paper. That’s where 3D rendering makes all the difference.
In this guide, you’ll learn the difference between exterior and interior rendering, when to use each, the software behind them, typical costs, and how to choose the right option for your project.
What Is 3D Exterior Rendering
3D exterior rendering produces a photorealistic image of a building’s outside. It is generated from a CAD or BIM model of your design. The image captures the facade, roofline, siding, landscaping, and the surrounding lot. You may also hear it called exterior visualization, or facade rendering when the facade is the focus. You build that base model in software such as Revit, SketchUp, ArchiCAD, or Rhino. Every material and lighting variation is then applied to the same model. Once the base is set, an artist adds the lighting and materials on top. You can test different options on the very same model without rebuilding it. The scene is then rendered through an engine such as V-Ray, Corona, Lumion, or Enscape.
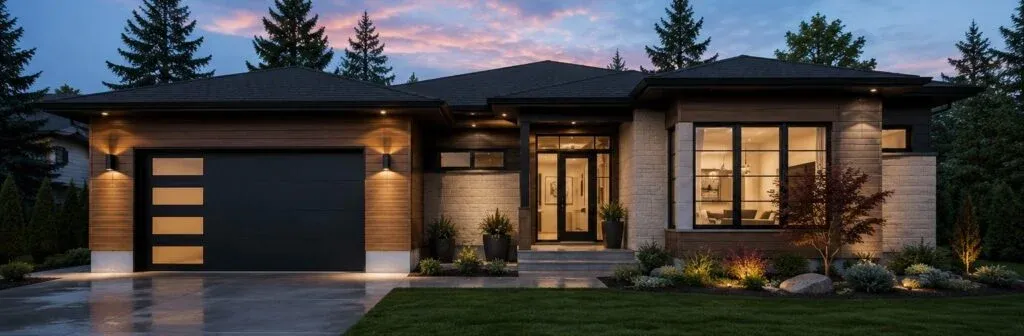
The engine you choose affects both quality and turnaround. Real time engines like Lumion and Enscape let you review changes live in a meeting. Offline engines like V-Ray and Corona take longer per frame but deliver sharper detail. That sharper detail is what you want for final marketing images.
You can use an exterior render to:
- test facade materials, rooflines, and siding on a single model
- show landscaping, driveways, and neighboring structures in context
- compare lighting scenarios, such as morning sun, dusk, or overcast skies
- add aerial or drone views for large lots and multi lot developments
Types of 3D Exterior Rendering
Exterior rendering is not a single output. A static image suits a listing photo or a signage board. A full walkthrough animation suits a sales presentation or a developer pitch. When you match the output to the goal, you keep the cost proportional to the need.
The main formats include:
- Static renders: high resolution images, often in day, dusk, and night versions
- Walkthrough animations: a moving camera that circles or approaches the building
- 360 degree panoramas: an interactive view the client can rotate in a browser
- Virtual reality walkthroughs: an immersive exterior a client explores in a headset
For example, there is a builder who is launching a small community of new homes. For the roadside sign, they order evening renders that show the homes glowing at dusk. For the website, they order a short video that travels along the street. Both come from the same 3D model, so the video costs less and arrives faster. You are not paying to build the scene twice, only to show it a new way.
If you want to see each output type, explore Pyctom’s exterior rendering work.
What Is 3D Interior Rendering
3D interior rendering recreates a room’s layout, finishes, furniture, and lighting. It is also known as interior visualization. It draws on the same model that produced your floor plan. Designers and architects use it to test a space before a cabinet is ordered. The render reveals how the materials read together in context. A swatch board or a flat elevation cannot show that.
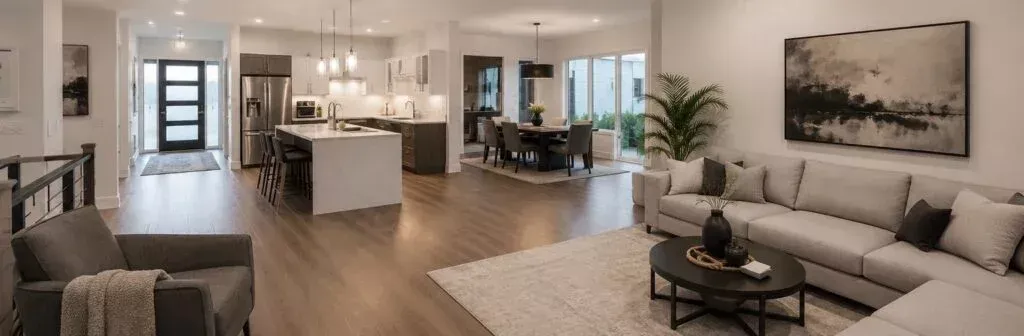
The workflow mirrors exterior rendering closely. You build a base model in SketchUp, 3ds Max, or Revit. An artist then applies the textures and lighting in V-Ray, Corona, or Enscape. Interior scenes demand extra attention to indirect light and reflections. Indirect light is light that bounces around a room instead of arriving directly. As it travels, it picks up color from counters, glass, and floors. A kitchen render has to capture all of that to look real.
You can use an interior render to:
- test furniture layout and traffic flow before the room is built
- present cabinetry, countertops, and flooring together in one view
- preview light fixtures and daylight at different times of day
- compare staging, from a minimalist look to a fully furnished space
Types of 3D Interior Rendering
Interior rendering follows the same formats as exterior work, with one addition. That addition is virtual staging. Virtual staging places digital furniture into a photo of a finished but empty room. This avoids building the entire scene from scratch.
The main formats include:
- Static renders: one image per room, often with two or three finish options
- Walkthrough animations: a camera that moves through connected rooms
- 360 degree panoramas: a scrollable interior view for a listing or client portal
- Virtual staging: digital furniture added to real photos of an empty interior
For example, an interior designer cannot decide between walnut and white oak floors. Instead of guessing, they order two images of the same living room. Each image uses a different floor, while the room and camera stay identical. Side by side, the only thing that changes is the wood. The client can then see the true difference and choose with confidence.
If you want to compare staging styles, browse Pyctom’s interior rendering work.
The Software Behind Professional Rendering
Your choice of software shapes two things: final image quality and revision speed. The process runs across two layers. First you model the building, then you render the image. Each layer relies on its own set of tools.
Modeling happens in programs such as Revit, SketchUp, Rhino, ArchiCAD, or 3ds Max. Each one converts your plans into a 3D base ready for materials. A rendering engine then lights that base and produces the final image.
Rendering engines fall into two camps. Real time engines render as you move the camera through the scene. They include Enscape, Lumion, D5 Render, and Twinmotion. Offline engines take longer per frame but deliver sharper, more realistic results. They include V-Ray, Corona, and KeyShot.
Which camp suits you depends on the moment. In a live client meeting, a real time engine lets you review options on the spot. For a final marketing image, an offline engine renders every reflection accurately. Many projects use both, one engine for review and another for the hero shot.
At Pyctom, we run an advanced stack that spans both camps. That lets us review options with you in real time. It also lets us deliver premium, photorealistic frames at the end. In short, you gain speed during decisions and full realism at delivery.
How Much Does 3D Rendering Cost
Pricing depends on scope, quality tier, timeline, and the number of revisions. Most studios charge per image, so each camera angle counts as one render. The table below shows typical 2026 market rates as a reference point.
| Rendering type | Typical 2026 price range |
|---|---|
| Interior still image | $250 to $1,800 per view |
| Exterior still image | $500 to $4,000 per view |
| Aerial or drone view | $800 to $4,000 per view |
| Floor plan | around $300 per floor |
| Walkthrough animation | $3,000 to $10,000 per finished minute |
| 360 degree panorama | $700 to $2,500 per view |
| Virtual reality experience | $15,000 and up per project |
A few patterns explain where your project lands. Commercial work costs more than residential, since it needs more views and coordination. Exterior stills usually run slightly higher than interior stills. Animations sit at the top, because every frame is rendered individually.
The largest cost driver is revisions, not extra angles or materials. So a clear brief with reference images keeps your quote lower and steadier. A tight deadline adds rush fees, since the team must work overtime to deliver.
Studios typically price work in three ways. Per image pricing suits one to three views and gives you budget clarity. Package pricing bundles six or more images and lowers the rate per image. Hourly pricing suits looser scopes, usually at around $25 to $100 per hour.
If you want an exact figure, send Pyctom your floor plans for a custom quote within one business day.
How Each Audience Uses Exterior and Interior Rendering
The same two rendering types serve four audiences, each for its own reason. Take one kitchen render, which can serve two very different people. An architect might use it to explain a layout choice to a client. It helps them show why a wall or a window sits where it does. A homeowner might use the very same image to pick a countertop. They compare the finishes on screen before spending money at the showroom.
| Role | Exterior rendering use | Interior rendering use |
|---|---|---|
| Architects | Massing studies, planning submissions, design validation | Spatial layout testing, client sign off on room flow |
| Builders and developers | Presale marketing, spec home listings, addition previews | Staging model units, comparing finish packages |
| Interior designers | Occasionally, for exterior lighting context | Material and furniture selection, mood boards, presentations |
| Homeowners | Confirming an addition or facade change before permitting | Renovation decisions, comparing finishes before a large spend |
Handling Multiple Ideas and Client Revisions
Most clients do not settle on one direction at first. A designer might want to show a room in three different furniture styles. A homeowner might want to see their house with two different roof shapes. For example, a pointed gable roof next to a gently sloped hip roof. Because every render starts from the same 3D model, all of these versions stay in one project. You explore several looks without paying for a brand new model each time.
From a single model, you can present:
- multiple facade materials or color options
- multiple floor plan or layout directions, side by side
- multiple furniture directions, such as modern against traditional
- multiple lighting moods, from bright daylight to warm evening tones
Some revisions come back faster than others, and the reason is simple. If you swap a material, adjust the lighting, or move the camera, the model stays the same. That kind of change is quick to deliver. But moving a wall changes the model itself, so it has to be rebuilt first. That kind of change takes longer. Knowing the difference helps you set honest timelines with a client.
If you are unsure which type fits your next request, share your floor plans with Pyctom for guidance.
Exterior vs Interior Rendering: Key Differences
| Aspect | Exterior rendering | Interior rendering |
|---|---|---|
| Primary focus | Building envelope, facade, and lot context | Room layout, finishes, and furnishings |
| Common software | SketchUp, Revit, Lumion, Enscape, V-Ray | 3ds Max, SketchUp, V-Ray, Corona, Enscape |
| Lighting complexity | Sun position, weather, and time of day | Indirect light, reflections, and fixture placement |
| Typical output | Static images, aerial views, walkthrough animations | Room images, virtual staging, 360 tours |
| Primary decision maker | Architect, builder, or planning department | Interior designer or homeowner |
Exterior vs Interior Rendering: When to Use Each
- Use exterior rendering for facade decisions, addition previews, permitting, and presale marketing.
- Use interior rendering for finish selection, layout testing, staging, and mood boards.
- Use both together when a client’s decision spans the exterior and the interior.
Bring Your Next Project to Life With Pyctom
The right rendering depends on what you need to communicate. If you’re showcasing a property’s curb appeal, exterior rendering is the way to go. If you want clients to experience the layout, finishes, and atmosphere of an indoor space, interior rendering delivers the clarity they need.
With Pyctom’s professional 3D rendering services, you can present your ideas with confidence, speed up approvals, and reduce costly design revisions.
Contact Pyctom toda for a free consultation and let us turn your concept into photorealistic visuals before construction begins.
Frequently Asked Questions
What software produces these renders?
You model in Revit, SketchUp, or Rhino. The final image comes from an engine such as V-Ray, Corona, Lumion, or Enscape. At Pyctom, we run an advanced stack across both real time and offline engines.
What is the difference between real time and offline rendering?
Real time engines like Enscape and Lumion render as you move the camera. That makes them ideal for live client meetings. Offline engines like V-Ray and Corona take longer per image but deliver sharper detail. For final marketing visuals, offline is usually the stronger choice.
How much does a single rendering cost?
An interior still typically runs $250 to $1,800. An exterior still typically runs $500 to $4,000. Your final price depends on detail, revisions, and deadline. For an exact figure, Pyctom can quote your project from the plans.
Can a client request a virtual reality walkthrough?
Yes. You can build one with a real time engine such as Twinmotion or Unreal Engine. It usually costs more than a static render or a short animation.
Does a new camera angle require a new model?
No. A new angle, lighting scenario, or material swap reuses the existing model. Only a change to the layout itself, such as moving a wall, requires remodeling first.
What file formats do you deliver?
Static renders arrive as high resolution JPG or PNG files. Animations arrive as MP4 files. Interactive walkthroughs arrive as a web link or a standalone application.