

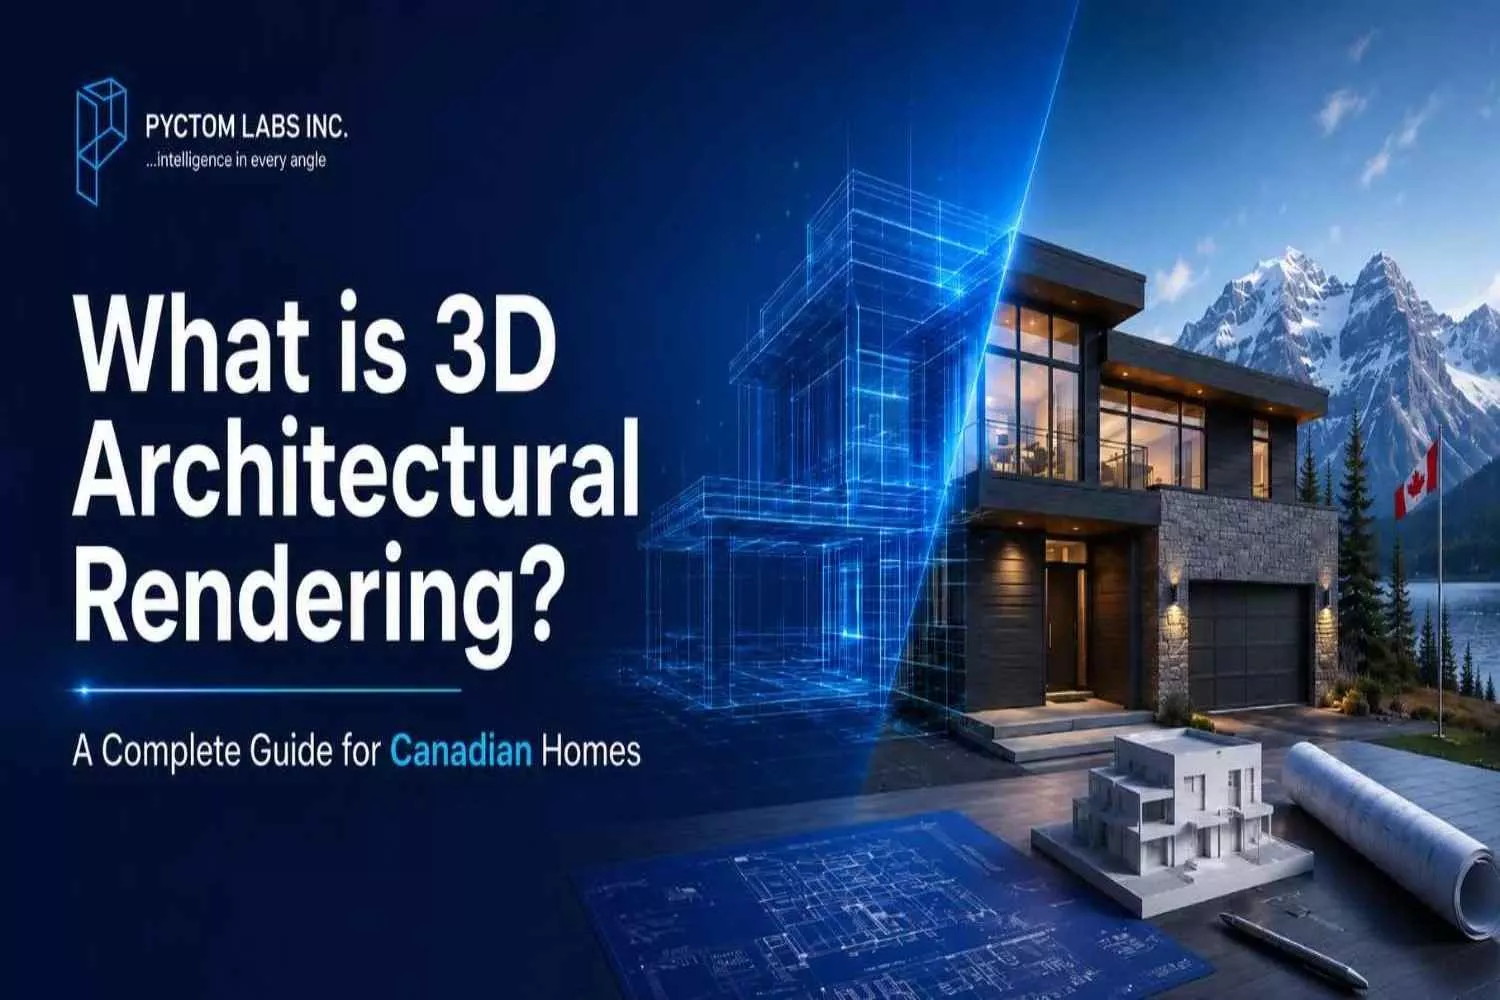
Are you planning a custom home, a major renovation, or a pre-construction sale and need to show people what the finished space will look like before a single foundation is poured? If so, 3D architectural rendering is exactly what you need.
In this guide, we walk you through everything you need to know about 3D architectural rendering for your next residential project in Canada.
What Is 3D Architectural Rendering?
3D architectural rendering is the process of creating a digital photorealistic image of a building or dwelling prior to its construction physically. Custom home builders, developers and homeowners use these images to visualize design, secure permits and approvals and market their pre-built homes.3D architectural rendering begins with a digital model built from your architectural plans.
Designers use precise materials, finishes, and lighting to make the result as close as possible to the conditions of the real world, from the brick on the facade to the hardwood on the floor. The final product is a high-resolution image of your home as it will look after completion of the installation.
The wider discipline is called architectural visualization. Rendering describes a specific output image, while visualization covers the entire production process behind that image. The two terms are often used interchangeably in Canadian home design and construction circles. The work is also classified as CGI rendering, since each element is computer generated rather than photographed.
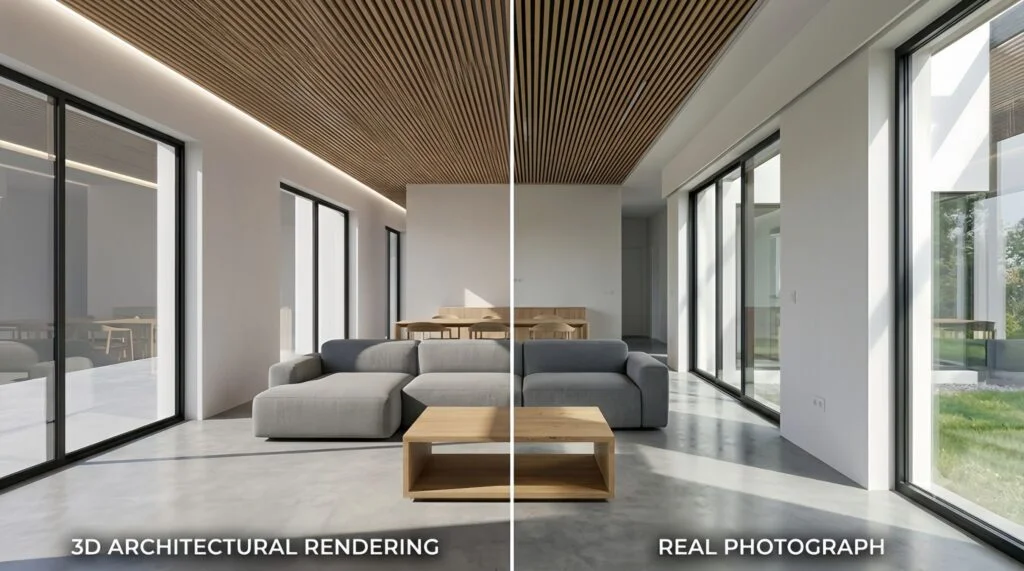
Render vs Photograph
The difference between a render and a photograph is simple. A render is the digital version of a space designed before construction, whereas a photograph documents the home after the vision has been built. The outcome is a render that is ready for production, for planning, for approval, and for marketing at the beginning of the life cycle of your project.
Who Uses 3D Architectural Rendering?
3D rendering supports a broad range of people involved in Canadian residential construction.
The following all rely on it regularly:
- Residential architects and designers presenting home concepts to clients and municipal review boards
- Custom home builders helping clients picture a build before breaking ground
- Residential developers marketing pre-construction homes, townhomes, and condo units
- Interior designers presenting finish selections and room layouts before installation
- Renovation contractors packaging additions, basement conversions, and remodel proposals
- Real estate agents listing homes that are still under construction
- Homeowners planning a custom build or major renovation who want to see the result before committing
For architects and builders, the rendering replaces reliance on technical drawings, which most homeowners cannot interpret without help. For developers in competitive Canadian housing markets, a strong rendering package supports faster pre-sales and stronger marketing collateral.
Types of 3D Architectural Renderings
Different types of renderings serve specific purposes across your project. Choosing the right format from the start helps you manage your budget and schedule.
- Exterior rendering: Shows the home’s facade, landscaping, driveway, and curb appeal in its site context. Used for marketing, permit submissions, and neighbourhood consultation.
- Interior rendering: Presents individual rooms like kitchens, living rooms, and primary suites with specified finishes, furniture, and lighting. Commonly used during design development and sales presentations.
- Aerial rendering: Provides a bird’s-eye view of a full property or multi-home development. Suited to subdivision reviews, infill projects, and investor materials.
- Walkthrough animation: Delivers a continuous moving tour through the finished home. Used for virtual property tours, pre-sale marketing, and municipal submissions requiring spatial context.
- Floor plan rendering: Converts a technical 2D layout into a three-dimensional view. Helps buyers interpret a home’s layout without needing to read architectural drawings.
Residential developers often combine exterior, interior, and aerial renders into a single campaign package. Interior and floor plan renders are usually the first to be considered by architects and builders during the initial design phase. A qualified rendering studio will help you determine the right format mix based on your audience and project phase.
| Rendering Type | Primary Use Case |
|---|---|
| Exterior rendering | Marketing, facade approvals, landscaping and curb appeal |
| Interior rendering | Room layouts, finish staging, sales presentations |
| Aerial rendering | Subdivisions, infill, multi-home developments |
| Walkthrough animation | Virtual home tours, pre-sale and municipal presentations |
| Floor plan rendering | 2D to 3D layout clarity for home buyers |
Key Elements of High-Quality 3D Architectural Renderings
The technical quality of a rendering directly affects how believable it is to clients, buyers, and approval boards. These are the factors that determine whether a render looks professional:
- Realistic lighting and shadow placement: Light behaviour, including shadows, reflections, and the angle of natural light through windows, must follow real-world physics. Flat or inconsistent lighting instantly makes a rendering less believable. A good studio tests several lighting setups before settling on a final choice.
- Accurate material representation: Textures for specified finishes, such as brick, vinyl siding, glass, wood, and metal, should resemble the actual product rather than generic substitutes. Material accuracy builds confidence between the rendered image and the finished home.
- Correct proportions and scale: Every dimension should match the architectural drawings. Distorted scale reduces trust in the output and causes problems downstream when reviewing with clients.
- Strategic camera placement: Camera angles should highlight the best design features and show the home from the perspective of the people who will live in it. Poor framing weakens an otherwise strong design.
- Clean post-production: Colour correction, noise reduction, and detail enhancement are essential before final images are delivered. Unpolished output reflects poorly on the project itself.
The 3D Architectural Rendering Process
Understanding the rendering process helps you prepare the right assets, set realistic timelines, and give effective feedback at every stage.
Here is what the entire process looks like:
Stage 1: Modeling
A 3D modeler creates the building on a computer from your architectural drawings or concept sketches. Walls, windows and structure are correctly positioned. This stage should be consistent with the requirements of the National Building Code of Canada for residential construction. Always supply the latest drawing set to prevent rework.
Stage 2: Materials and Textures
Every surface is finished to match the project needs, such as exterior cladding, flooring, glazing, cabinetry and other interior surfaces relevant to the scene.
Stage 3: Lighting and Environment
The studio can replicate the light of a particular time of day, season, or mood. The surrounding environment, such as landscaping, streetscape or sky, is also set at this stage.
Stage 4: Rendering
The software determines the light reflected from each surface in the scene and generates the final high-resolution image. Rendering times depend on the complexity of the scene and the resolution of the image.
Stage 5: Post-Production and Delivery
The image is then colour graded, sharpened and refined before delivery. Most studios will give you a draft to review before sending the final file.
Benefits of 3D Architectural Rendering for Canadian Homes
The return on a rendering investment shows up during both the planning and the sales phases of a residential project.
- Early error detection: Fixing a layout conflict or design inconsistency at the rendering stage is easy and inexpensive. Once construction has begun, the same issue can carry serious cost and scheduling consequences.
- Faster pre-sales: Photorealistic renderings influence buyers far more effectively than floor plans. They give a clear visual that speeds up decision-making and shortens the sales cycle for pre-construction homes.
- Stakeholder alignment: A single accurate visual can be shared among the homeowner, architect, builder, and marketing team throughout the project, helping to minimize misunderstandings and late requests for revisions.
- Stronger marketing collateral: Quality renders add a touch of professionalism to listings, brochures, and digital campaigns. They position your home competitively in Canadian residential markets.
- Fewer costly revisions: When everyone starts from a common visual reference, the number of revision cycles drops significantly during and after construction.
Popular Software for 3D Architectural Rendering
Professional studios rely on an established set of modeling and rendering tools. The software matters less than the skill and experience of the team using it, but familiarity with industry-standard tools is a good barometer of a studio’s competence.
- 3ds Max: Industry-standard software for detailed structural and architectural modeling.
- SketchUp: Widely used for rapid conceptual modeling and early-stage design iteration.
- V-Ray and Corona Renderer: Leading rendering engines for producing photorealistic lighting and material effects.
- Lumion: Commonly used for fast exterior and landscape rendering, particularly for larger sites.
- Twinmotion: Used for real-time walkthroughs and interactive animations, increasingly adopted for client presentations.
These are the fundamental software tools available across the industry. We use advanced, project-specific software tailored to your home’s requirements. Book a consultation to discuss the best solution for your project.
How to Prepare for Your 3D Rendering Project
A smoother project starts with good preparation on your end. The more complete the information you provide, the more accurate your first draft will be, which means fewer revision rounds and a faster turnaround.
Before you reach out for 3D rendering services, gather the following:
- Your latest drawings: Up-to-date floor plans, elevations, and any structural drawings. An outdated set is the most common cause of rework.
- Finish and material selections: Note your intended exterior cladding, roofing, flooring, cabinetry, countertops, and paint colours. Even rough preferences help the studio match reality.
- Reference images: Photos of homes, rooms, or design styles you like give the team a clear sense of the look you are after.
- Site information: Photos of the lot, its orientation, and the surrounding context help place the home realistically, important for both exterior and aerial renders.
- Your goal and audience: Be clear about whether the render is for a permit submission, a pre-sale listing, a lender, or simply to help you decide on a design. The purpose shapes the format and level of detail.
If you are still early in the design process and have not finalized every detail, that is perfectly fine. A good studio can work from concept sketches and help you fill in the gaps. The key is to share what you have and flag what is still undecided.
What to Look for in a 3D Rendering Studio in Canada
Canada has a growing number of studios offering 3D rendering services for residential projects. A polished portfolio alone is not enough to judge a provider. Before signing on, please take the following into account:
- Portfolio relevance: Request examples comparable in scale and type to your own, such as a custom home, a renovation, or a multi-unit development. A solid body of Canadian residential work also demonstrates an understanding of local home styles, code requirements, and site contexts.
- Revision policy: Confirm how many rounds of revisions are included in the project price, and what the process is for requesting changes. Unclear revision terms are a common source of cost overruns.
- File delivery specifications: Define how final files will be sized, formatted, and delivered. For marketing purposes, images are usually 300 DPI or higher, depending on the application.
- Process transparency: A reliable studio will provide a clear production schedule with defined milestone dates. This lets you match the delivery of your renderings to the overall project schedule, such as a listing launch or a permit submission deadline.
Start Your Next Home Project with Pyctom
3D architectural rendering has become a common practice in the Canadian residential construction, development, and real estate industry. It supports design review, communication with clients and family, regulatory submissions, and pre-sales, all from a single production workflow.
Knowing the different types of rendering, how the process works, what quality looks like, and how to prepare puts you in a strong position when evaluating 3D rendering services for your home.
To explore rendering options for your next residential project, visit our 3D visualization services page or contact our team directly for a project quote.
Quick FAQs
How much does 3D architectural rendering cost in Canada?
The cost of rendering varies depending on the type of render, the complexity of the project, and the level of detail required. A single exterior render for a custom home will be less expensive than a complete package of exterior, interior, and aerial renders. Most studios in Canada will give you a quote based on the project, so the more you can show them your drawings and goals, the more accurate the quote will be.
How long does it take to complete a 3D rendering?
Turnaround times vary based on scene complexity and the studio’s current workload. A simple exterior render can be provided in 3-5 business days. A full interior and exterior package or walkthrough animation can take 2-4 weeks. The most effective way to keep the project on track is to provide complete drawings and material selections at the beginning of the project.
Do I need finalized architectural drawings before starting a rendering?
Finalized drawings produce the most accurate first draft and reduce revision rounds. However, many studios can start from concept sketches or partially completed plans. Anything that remains undecided should be marked so that the studio can create placeholders and update them when decisions are made. It is better to address layout or finish issues early in the design process.
What file formats will I receive when the rendering is delivered?
Most studios deliver high-resolution JPEG or PNG files suitable for print and digital use. For marketing purposes, images are typically exported at 300 DPI or higher. If you need layered files, PDF exports, or specific dimensions for a brochure or listing platform, confirm those requirements with your studio before the project begins so delivery is set up correctly from the start.
Can 3D renderings be used for permit submissions in Canada?
Yes. Many Canadian municipalities accept 3D renderings as part of planning and permit applications, particularly for design review, neighbourhood consultation, and variance requests. The rendering should be a faithful representation of the proposed structure, consistent with the drawings submitted and conform to any format requirements imposed by the local authority. Check with your municipality for exact requirements before your studio starts production.
Disclaimer: The information provided in this blog is for general informational purposes only. For professional assistance and advice, please contact experts.